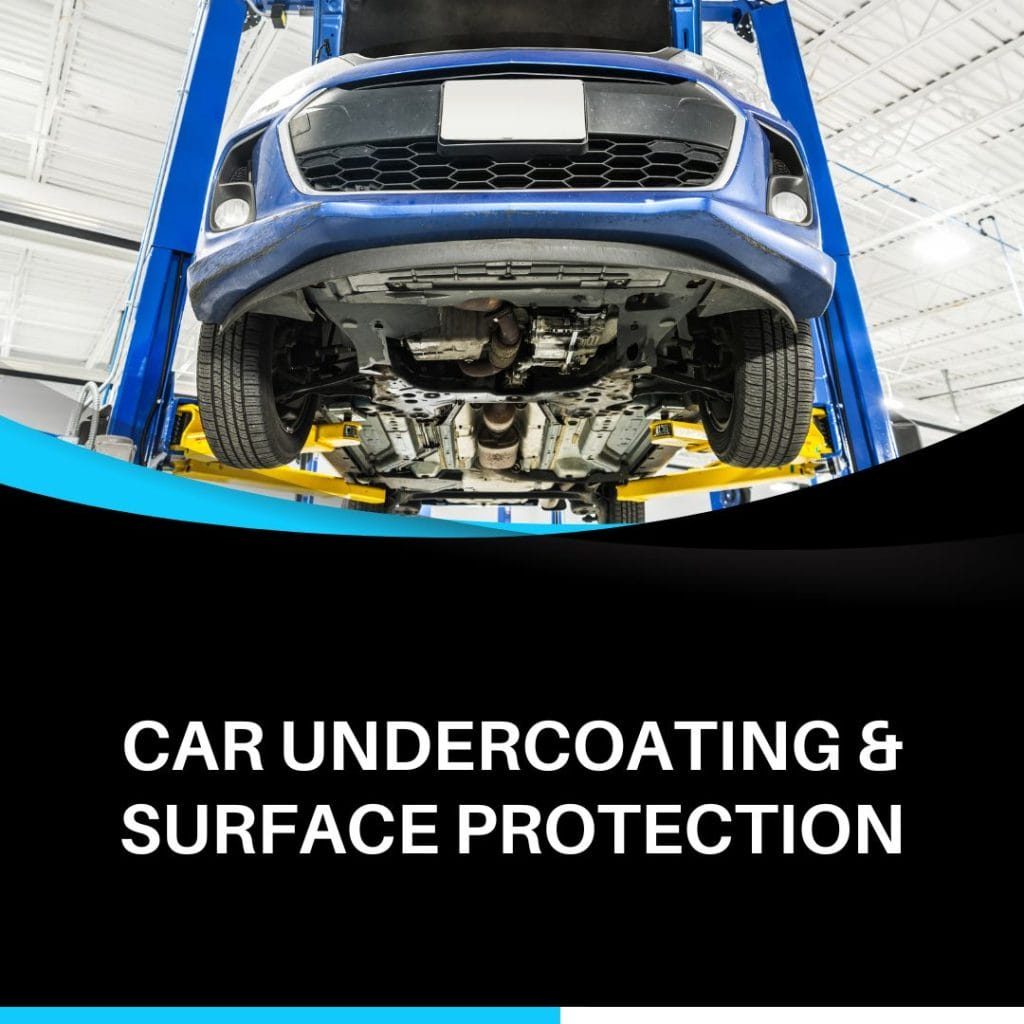
Taking care of your car goes beyond regular washing and maintenance; undercoating is an often-overlooked but crucial aspect of vehicle care. DIY undercoating can protect your car from rust, corrosion, and damage caused by road salt, gravel, and other environmental factors. In this article, we’ll explore various techniques and provide valuable tips to help you effectively undercoat your car and extend its lifespan.
Materials Needed:
Before diving into the undercoating process, gather the necessary materials:
Undercoating Product:
- Choose a high-quality undercoating product suitable for your climate and driving conditions.
Jack Stands and Jack
- Ensure safety during the application process by elevating your car securely.
Wire Brush:
- Remove any existing rust or debris from the undercarriage.
Masking Tape and Plastic Sheets:
- Protect sensitive areas of your car from overspray.
Air Compressor and Spray Gun:
- For an even and efficient application.
Steps for DIY Undercoating:
Prepare Your Car:
- Start with a clean car. Wash off dirt and debris to ensure the undercoating adheres properly.
- Lift your car using jack stands, providing easy access to the undercarriage.
Inspect and Remove Rust:
- Use a wire brush to remove any existing rust or corrosion. This step is crucial for effective undercoating.
Mask Off Sensitive Areas:
- Use masking tape and plastic sheets to cover areas you don’t want to undercoat, such as brake lines and exhaust pipes.
Select the Right Undercoating Product:
- Choose an undercoating product that suits your needs. Consider factors like your climate, the type of driving you do, and the product’s compatibility with your car.
Mix the Undercoating:
- If required, mix the undercoating product according to the manufacturer’s instructions.
Apply the Undercoating:
- Using an air compressor and spray gun, apply the undercoating evenly across the undercarriage. Start from the back and work your way forward.
Allow for Drying Time:
- Follow the product’s recommended drying time. Ensure your car is in a well-ventilated area during this process.
Inspect and Touch Up:
- Once the undercoating is dry, inspect the undercarriage. Touch up any areas that may need an additional coat.
Tips for Successful DIY Undercoating:
Choose the Right Product:
- Consider your climate and driving conditions when selecting an undercoating product.
Regular Inspections:
- Periodically inspect your undercarriage for signs of damage or wear. Touch up as needed.
Professional Assistance:
- If you’re unsure about the DIY process, seek professional assistance for undercoating.
Consistent Maintenance:
- Maintain a consistent cleaning schedule to prevent dirt and debris buildup.
Vehicle Undercoating Pros and Cons
If you’re contemplating undercoating your car, it’s wise to evaluate the advantages and disadvantages before reaching a decision. While undercoating isn’t overly complex, it’s crucial to acknowledge that if not executed correctly, it can be rendered ineffective.
The battle against rust may seem like an ongoing challenge, but the application of rustproofing and undercoating can significantly extend the lifespan of your vehicle. These protective measures act as a shield against the corrosive effects of road salt and brine, offering a defense that requires consistent attention.
Understanding the significance of car undercoating is crucial for all drivers. Your vehicle represents a substantial investment, warranting protective measures. Over time, rust can lead to corrosion, resulting in part failure and a range of associated issues. Beyond its unsightly appearance, rust can trigger various system breakdowns, including leaks that contribute to fuel wastage and potential failures of major components like the engine and transmission. System damage can be a frustrating ordeal, and without proper protection, your vehicle becomes more susceptible to such harm.
The detrimental effects of rust extend beyond aesthetics, impacting the vehicle’s lifespan, residual value, and safety. It is imperative to take proactive measures to prevent the occurrence of rust.
For individuals residing in regions with inclement weather, the impact of abrasive road salt, road brine, tree sap, and scratches from tree limbs can accelerate the deterioration of the manufacturer’s paint. Once the paint starts to chip away, the onset of damaging rust is inevitable.
The introduction of road brine, with its ability to reach into intricate areas where traditional road salt cannot, has further complicated the issue. Many road brines are formulated with adhesive additives, making it challenging for the toxic substance to be easily washed away from the road. Unfortunately, when vehicles traverse these sticky substances, they indiscriminately adhere to various surfaces, exacerbating the risk of rust formation.
The Fundamentals of Car Undercoating
The optimal time to apply undercoating to a car is when the vehicle is brand new. During this period, the undercarriage is free from debris, residue, and corrosion.
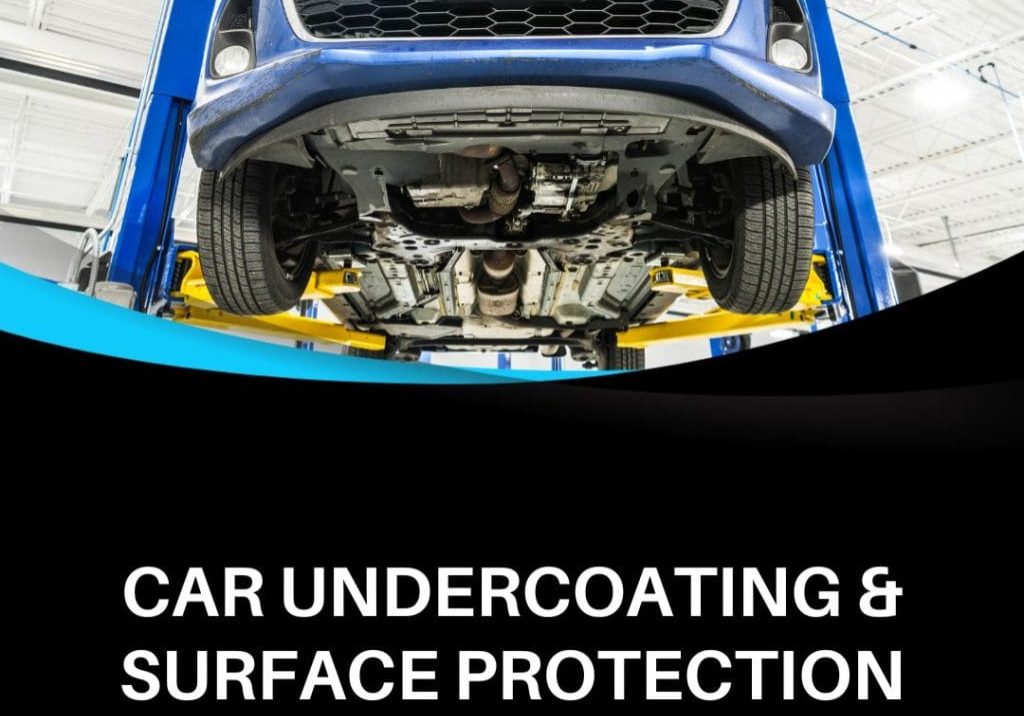
In essence, car undercoating serves as a protective layer applied to the underside of vehicles.
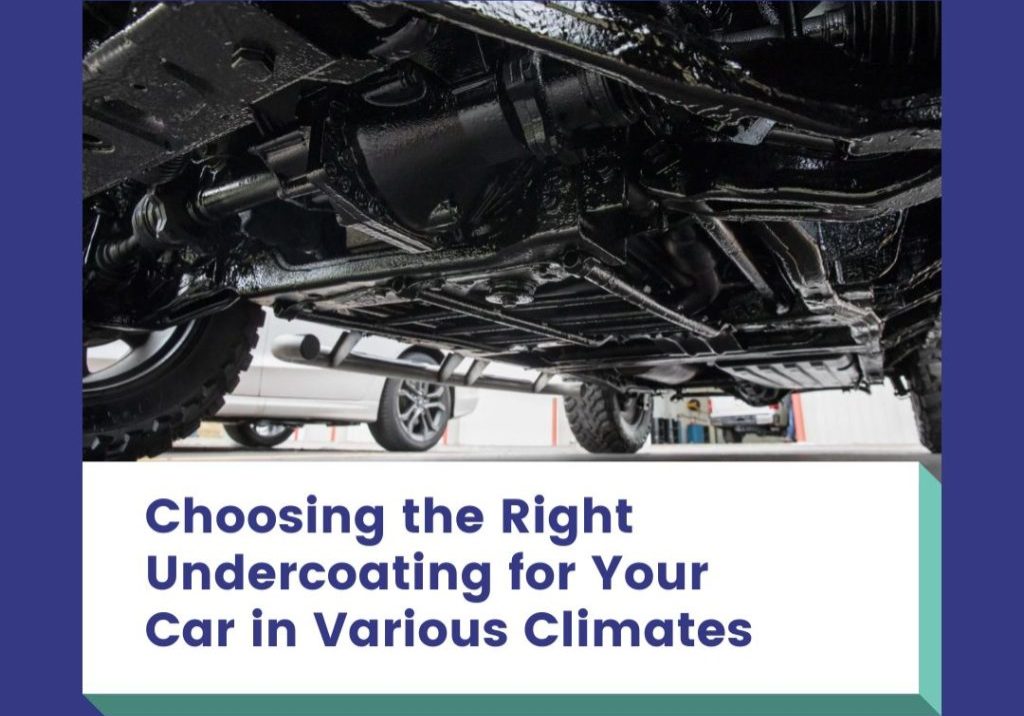
When choosing between traditional hard or rubberized undercoating and soft oil undercoating, the decision is yours to make.
It’s crucial to establish a qualification initially. If your vehicle already displays signs of rust, your effective options are limited. The application of hard paint or rubberized wax undercoating to areas prone to rust will only trap moisture beneath the surface, allowing oxidation to persist.
While removing rust beforehand can be more effective, it presents challenges, as rust tends to penetrate deep below the metal surface. Given the nature of rust resembling cancer in its ability to burrow extensively, the approach of encapsulating rust is considered not worth the effort or cost.
In contrast, oil undercoating, unlike traditional rubberized, paint, or wax undercoating, penetrates through rust down to the sound metal, displacing moisture and eliminating oxygen. By eliminating these factors, oxidation cannot occur.
If engineered for the application, a good oil undercoating should also possess the ability to creep and migrate deep into body cavities where rust is prone to begin. A quality oil undercoating will creep 4 to 6 inches, ensuring that spot welds, seams, and folds are penetrated and protected. These inner body cavities are typically unprotected and susceptible to holding dirt and moisture.
Soft undercoating has a self-healing property. In the event of a rock hitting the surface, it will not chip and will self-heal, maintaining the protective barrier.
Wax or rubberized undercoating should only be applied to a new, rust-free surface where 100% coverage can be seen and ensured. It is essential to inspect the vehicle every couple of years to verify that the barrier has not been breached. This surface should withstand abrasion without chipping. We believe it is critical to treat the body cavities with oil undercoating in conjunction with hard/wax undercoating for complete and comprehensive protection.
It could aid in reducing interior noise.
While driving, the sounds of the road can be quite loud, especially for lightweight vehicles, leading to overwhelming noise pollution in certain situations. Applying an undercoating layer establishes a barrier against such sounds, resulting in a noticeably quieter interior. Many drivers observe a significant reduction in audio levels inside their vehicles after this service is performed.
It can be applied by yourself.
Rustproofing is most effective when done professionally, but if budget constraints are a concern and you possess basic car maintenance skills, you can undertake the task yourself. NHOU offers public workshops and provides how-to videos. If done at a dealership, this service may cost up to $1,000, depending on your vehicle’s make and model. Some dealerships include it in a higher-priced service package. When done as a DIY project, the cost can be less than $100 for cars and under $150 for trucks and SUVs. However, be prepared for a bit of mess during the application of a DIY undercoat.
It will extend the life and value of your vehicle.
A good undercoating significantly prolongs the life of your vehicle. Corrosion not only affects the metal integrity but can also impact metal wires and cables, affecting components made of steel or aluminum, including the transmission and engine. Even with a vehicle undercoating, exposure to rust can occur.
Undercoating Cons
Oil-based rustproofing needs annual reapplication for optimal results. To ensure ongoing protection, regular reapplication of the service is necessary. In salty or corrosive environments, this is crucial to prevent structural failure or failing a safety inspection. Address rust as you would any other maintenance item on the vehicle.
How Long Does Undercoating Last?
The effectiveness of undercoating depends on the environmental exposure and the RV’s usage. Undercoating on a parked trailer may last for years, while a motorhome or trailer frequently traveling on roads may require more frequent reapplication due to potential impacts against the frame, chipping away at the coating. Annual visual inspections are recommended to ensure its integrity.
Why Undercoat Your RV?
RVs benefit more from undercoating than rustproofing due to their construction. Unlike automobiles with sealed areas and tubular frames, RVs are built on an open rolling chassis or trailer frame, making the frame almost entirely accessible for undercoating application. Since undercoating also provides protection against heat, stress, noise, and condensation without the need for annual reapplication, it becomes a preferred choice for recreational vehicles.
Conclusion:
DIY undercoating is a proactive approach to protect your car from the harsh conditions it faces on the road. By following these techniques and tips, you can enhance your vehicle’s longevity and preserve its structural integrity. Regular undercoating not only safeguards your investment but also contributes to a safer and more reliable driving experience.
